Choosing the right door hardware for your home or business
Whether you’re renovating your home or simply need to replace an old door, internal door installation is a task that many homeowners choose to undertake themselves. At Finewood Doors in Falkirk, Scotland, we understand the importance of having a comprehensive guide to help you through the process. This step-by-step tutorial is designed to assist you in installing an interior door efficiently and effectively, ensuring professional results even if you’re a DIY beginner.
What You’ll Need to Install an Interior Door
Before you begin, it’s essential to gather all the necessary tools and materials:
- New interior door
- Tape measure
- Level
- Screwdriver
- Drill with bits
- Hammer
- Chisel
- Wood shims
- Finishing nails
- Door hinges
- Sandpaper
- Paint or wood stain (optional)

6 Steps for Internal Door Installation
Measuring and Selecting Your Door
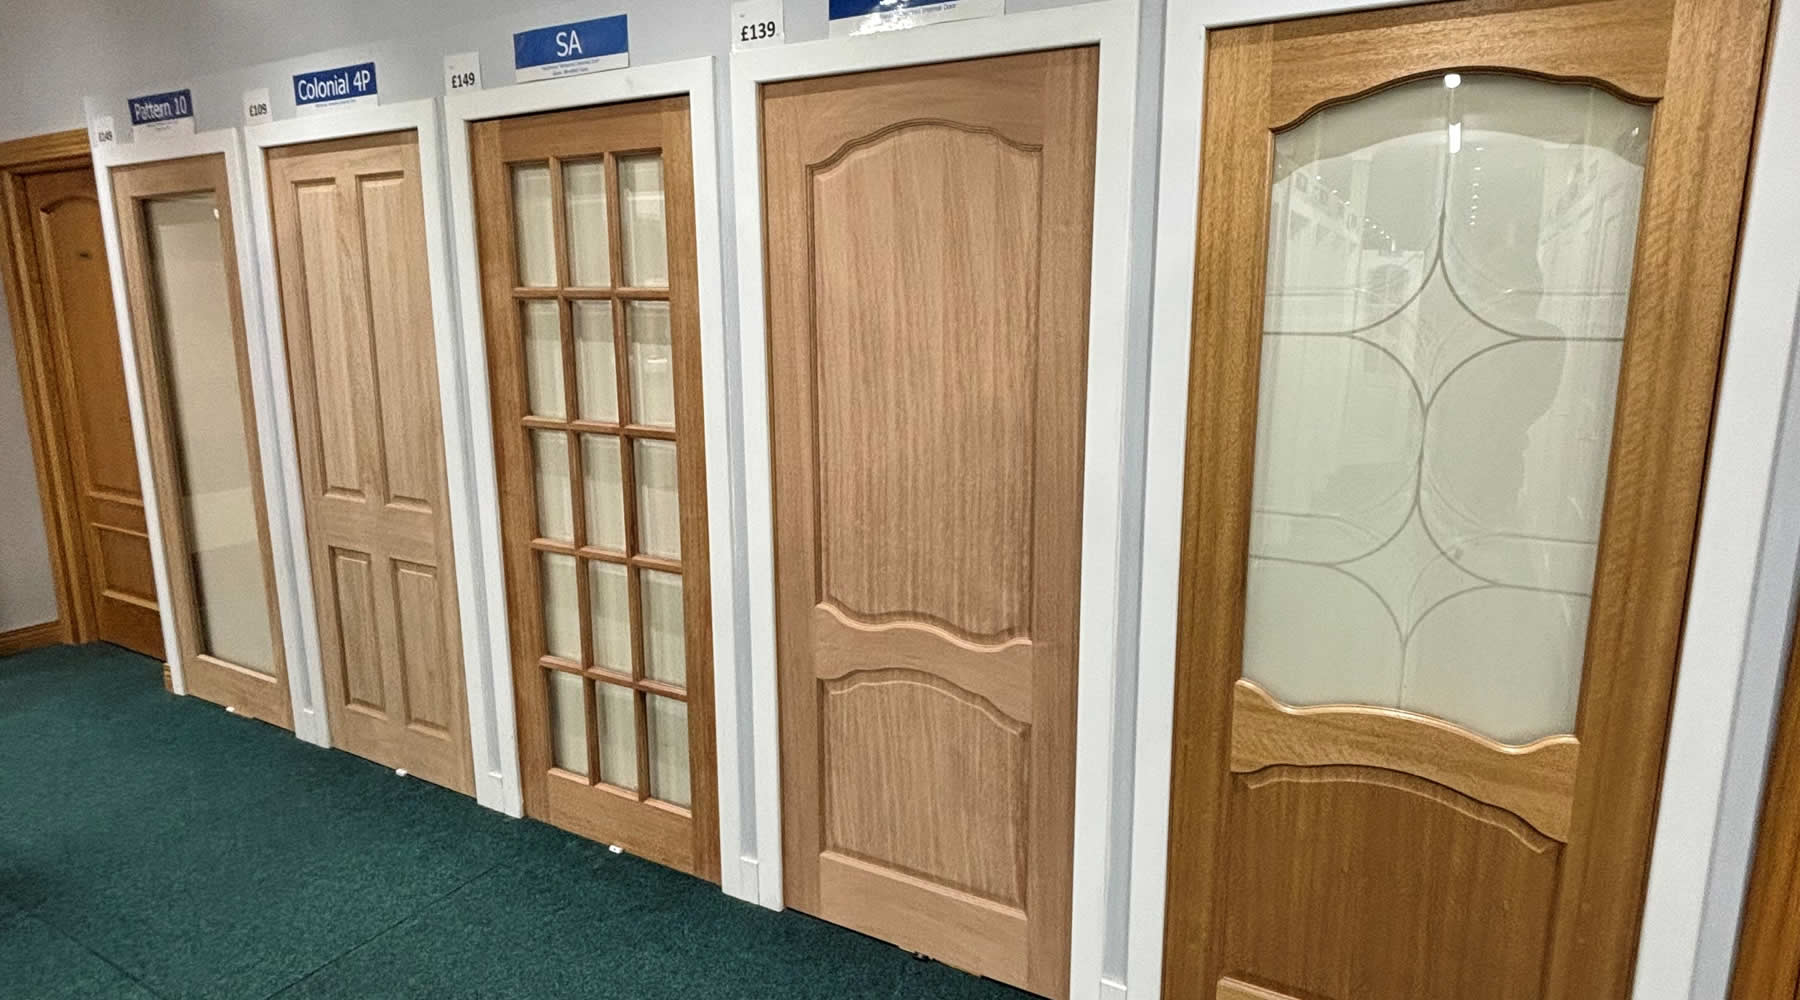
Start by measuring the existing door frame. Measure the height, width, and thickness of the current door. If there is no pre-existing door, measure the opening itself, ensuring you allow space for the door to swing open and close without any obstruction. When selecting your new door from Finewood Doors, consider the style and material that best fits your home’s interior design.
Preparing the Door
If your new door isn’t a perfect fit, you may need to trim it slightly. Use a circular saw to trim any excess wood, and always measure twice before cutting. Once the door fits the frame, it’s time to install the hinges. If you are replacing an old door, you can use the existing hinges as a template. Otherwise, mark the hinge placements typically about 150mm from the top and 230mm from the bottom of the door.
Attaching the Hinges
Attach the hinges to the door first, ensuring they are flush with the wood and the pins face the direction the door will open. Screw the hinges into place securely. Next, align the door within the frame and mark where the hinges will meet the door frame. Use a chisel to carve out the recesses for the hinges on the frame, ensuring a snug fit.
Hanging the Door
With the help of another person, lift the door and position it in the open frame. Use wood shims to keep the door level and in place. Once aligned, screw the hinges into the frame. Ensure the door opens and closes freely. Adjust as necessary, using the shims to achieve the perfect fit.
Installing the Door Handle
Mark the desired position for the door handle, typically around 1000mm from the floor. Drill the necessary holes for the handle and the latch. Follow the manufacturer’s instructions to assemble the handle and ensure that it operates smoothly.
Finishing Touches
Once your door is hanging correctly and the handle is installed, you can add any finishing touches such as paint or stain. This is also a good time to install any additional hardware like door stops or a peephole, depending on your preferences and needs.
Pitfalls to Avoid when Hanging an Internal Door
Incorrect Measurements
Always double-check your measurements before cutting or installing the door. An improperly sized door can be a significant setback.
Ignoring Level and Alignment
Use a level to ensure your door is perfectly vertical. An unlevel door can lead to improper closing and long-term damage.
Over Trimming
Remove small amounts incrementally when trimming your door. Once too much material is removed, it cannot be added back.
Forcing the Door
If the door doesn’t fit, do not force it into the frame. This can damage the door and the frame. Instead, check the fit and trim or adjust as necessary.
Skimping on Tools
Using the wrong tools or worn-out equipment can make the job harder and risk damaging your new door.
Visit Finewood Doors for Your Internal Door Installation
Installing an interior door yourself can be a rewarding project that enhances your home and saves on professional installation costs. By following these detailed steps and being mindful of common pitfalls, you can achieve a professional-looking installation. Remember, at Finewood Doors in Falkirk, we’re here to help. Visit us for advice and all the supplies you’ll need for your next door installation project. Happy DIY-ing!


